Sunday, May 6, 2012

(Nearly) Instant Pizza Dough

Last weekend I took a gamble and tried out a new recipe for pizza crust, and let me tell you, it was not pretty.  I mean the final result was fine, but it was nothing to write home about.  The middle never quite cooked all the way through, making a pizza slice hard to handle while holding a margarita in the other hand.  A tragedy, really.


For a while now I have been using Mark Bittman’s basic pizza dough recipe from How to Cook Everything, and ultimately I have been pretty happy with it.  The dough always tastes great and cooks thoroughly, but I could never roll it out thin enough to achieve a thin and crispy final crust.  Recently the blog world has been talking about a new Bittman recipe for no-work dough, which uses less yeast and requires a much longer rise period.  I thought I would give the recipe a try, with a few substitutions to make the dough 100% whole wheat.  I think this is where the process took a turn for the worse, but I cannot say for sure.  Anyway, this dough did not treat me well and I hope that someday I will give it another try, but I can’t make any promises.

I’m not too distressed, though, because I have since found my new go-to recipe for thin, no planning required, dream pizza dough.  I read about this crust a couple weeks ago and have been meaning to give it a try, but I have been wary of the fact that it literally requires no rise time.  How is that possible, right?  Then Friday evening hit and I found myself hungry and still craving pizza, so I gave it a go.


Honestly, you cannot run out to Trader Joe’s and buy pre-made dough faster than you can make this.  The dough is even easy to roll out-- no springing back every time you finally get it the size you want.  I will admit to burning the first pizza I baked (the original recipe says to bake it for 15 minutes, but mine was done much sooner), but the next day I was much more successful.  Just keep an eye on yours and don’t leave the kitchen to sit on the patio (like I did) until the pizza is done.


Pizza night just became far too convenient.

No Rise Pizza Dough
adapted from The Faux Martha
makes 4 personal size pizzas (about 9 inches round)

Note that I have made this dough 100% whole wheat, but if you do not have all of these flours on hand, feel free to substitute 1 ¾ cups all-purpose flour for the white whole wheat and whole wheat pastry flours.  Also, nutritional yeast can be found in the bulk sections of most health food stores and it is really not as scary as it sounds (nor does it taste anything like yeast).  Basically, nutritional yeast is a great vegan substitute for cheese, and lately I have been using it in doughs that call for parmesan.  Use whatever feels most comfortable/accessible because, after all, this recipe is ultimately about making your life more convenient, right?

One more thing, if you do not want to use all the dough in one sitting, simply wrap the extra dough balls in plastic wrap and freeze for up to a month.  When ready to use, bring to room temperature before rolling out and baking.

1 cup warm water
1 tbsp. olive oil
1 tbsp. unrefined cane sugar (or plain white sugar, if that’s what you have)
2 ¼ tsp. instant rise yeast (or 1 packet)
1 ¼ cup white whole wheat flour
½ cup whole wheat pastry flour
1 cup whole wheat flour
¼ cup nutritional yeast (or grated parmesan cheese)
1 tsp. salt (I used kosher)

Preheat the oven (and pizza stone, if you have one) to 450 F.

In a small bowl, combine water, olive oil, sugar, and yeast.  Stir and then allow to rest for about five minutes.  You want the yeast to “bloom” (i.e. foam).  If your yeast never develops, try again with different (perhaps fresher) yeast.

In the bowl of a food processor, pulse together flours, nutritional yeast and salt.  While the machine is running, pour the yeast mixture through the feed tube and process until a ball of dough forms (this usually takes about 30 seconds).  The dough should be slightly sticky to the touch, but very manageable.  If it seems too wet, add more flour one tablespoon at a time.  If the dough seems too dry, add water one tablespoon at a time.

Transfer dough to a lightly-floured cutting board and separate into four pieces (or less, depending on the pizza size you are after).  Roll each piece about ¼ inch thick, making sure there are no tears in the dough.  

Drizzle a bit of olive oil over the top of the dough, sprinkle with salt and a few grinds of pepper, then add your toppings.

If you are using a pizza stone, slide pizza directly from cutting board onto stone (sometimes you need to coax the dough off the cutting board with a spatula).  Otherwise, slide pizza onto a lightly oiled baking sheet.  Bake for 8-13 minutes, or until crust is golden and cheese on top is starting to brown and bubble.

Mexican Pizza Toppings
These ingredients reflect what was in my refrigerator on Friday evening, so use whatever you have on hand!  

1 tbsp. olive oil
½ large red onion, finely chopped
1 clove garlic, minced
¾ cup black beans or about 1 can (I did not drain mine, but if using canned beans drain a bit of the liquid off)
a few handfuls of chopped kale
1 tsp. cumin
½ tsp. oregano
a big pinch of cayenne pepper (or less depending on how much heat you like)
a pinch of red pepper flakes
salt and pepper
crumbled feta cheese
avocado, sliced
hot sauce or salsa

Heat oil in a medium skillet.  Add onion and cook, stirring occasionally, until starting to brown (about 10 minutes).  Stir in spices, garlic, and a dash of salt, then cook for about 30 seconds, until fragrant.  Add kale and another pinch of salt, then cook for a few minutes until kale has started to wilt.  Stir in black beans and season to taste.

Spoon a bit of the mixture onto each pizza crust, being sure not to overload the dough (this will make the pizza soggy).  Crumble some feta over the whole thing and bake as directed above.

Top cooked pizza with slices of avocado and a few dashes of hot sauce.

Monday, April 30, 2012

A Bounty


I have to be honest here: Los Angeles isn’t as sunny as I expected it to be.  I know I know, what a sob story.  But in all seriousness, even having grown up here, I had dreams of dressing almost exclusively in shorts and a tank top while living here.  While there are most definitely not seasons in LA, it does rain and sometimes the gloom just does not burn off like you hope it would.  The good news is that when this happens, two days later you’re sitting comfortably in the shade wearing a tank top and sandals.  It’s really rough out here.
Photo taken January 2012 (yes, strawberries grow in the middle of winter here)

What I’m saying is that living here has not changed the fact that I still get giddy when the sun comes out (I thought that was a Seattle thing, but apparently it’s just a me thing), and this past weekend had me doing every possible outdoor activity I could think of-- even driving all the way out to Santa Monica on a Saturday.  Now, most normal people would have made this trek for the promise of ocean and a lazy day in the sand-- but not me.  Actually, I didn’t even see the ocean on this trip.  I headed west exclusively to explore the Santa Monica Farmer’s Market, where I bought more produce than my measly one drawer in the fridge can comfortably accommodate.  It was amazing.  By the end of the morning, I had two bags full of produce and my mind was reeling with how I would manage to use everything in a timely manner.  This salad was my solution.


The idea is simple: Toss as many fresh ingredients as you can handle into a bowl, coat lightly with a simple dressing, and feast.  I have always been a huge fan of one-bowl meals, so this recipe could not appeal more to me.  I love that it is so informal and endlessly adaptable to whatever is in season or happens to be in your refrigerator on any given day.  Spring is an especially exciting time for produce since the markets are finally popping with color and potatoes are not the only crop in season (I’m looking at you, Seattle).  Just think, cherries will be here soon!  Until then, take advantage of what is available now and be thankful that the worst is behind us.

Everything Salad
adapted from My New Roots

As I stated above, please do not feel the need to use the same ingredients or amounts as I did.  If you have a favorite vinaigrette, use that instead.  Or maybe you have some leftover marinara sauce from homemade pizzas that you need to get rid of and feel like it might be great mixed in with a poached egg?  Sounds like dinner.  Create a dish that is colorful and pretty to look at and it’s almost guaranteed to taste delicious, too.

Also note that this is a great make-ahead salad that will keep for days in the fridge.  Just make sure not to add any dressing until you are ready to serve.

1 cup quinoa
2 cups water
½ bunch asparagus (a small handful), tough ends removed and chopped into 1 inch pieces*
1 cup green beans, ends trimmed and chopped into 1 inch pieces
1-2 green onions, chopped
1 avocado, diced
1 ½ cups arugula
1 cup cooked garbanzo beans (or 1 15oz can, drained)
a handful of cherry tomatoes, halved or quartered
3 small radishes, thinly sliced
a selection of fresh herbs (I used a few leaves of basil and a couple stems of parsley), chopped
¼ cup sunflower seeds, toasted
salt and pepper

Honey Lemon Vinaigrette

3 tbsp. olive oil
1 tbsp. honey
1 tbsp. minced green garlic (or regular garlic)
zest and juice of 1 lemon
big pinch of salt

Start by whisking all the vinaigrette ingredients together in a jar, then set aside to let flavors develop.

Make the quinoa: Thoroughly rinse the quinoa under running water for about 30 seconds (fun fact: the outer coating of the quinoa seed is very bitter in order to repel insects, but a quick rinse before cooking will remove this coating!).  Bring quinoa, water, and a big pinch of salt to a boil in a large saucepan.  Once boiling, reduce the heat to simmer and cook, covered, for 20 minutes (or until all the water is absorbed and the quinoa is light and fluffy).  Remove pan from heat.

Wash and chop all vegetables.  Toast sunflower seeds (or any other nut/seed you choose).

Fill a large, shallow skillet with about 2 inches of water and a pinch of salt, then bring to a boil.  Add asparagus and green beans, cooking just about 2 minutes or until bright green and barely tender (you still want some crunch).  Drain and rinse under cold water to stop cooking.

In a very large bowl, mix together quinoa and all other ingredients.  Add salt and lots of fresh ground pepper to taste and finish with the honey lemon dressing (or if you’re not serving this right away, hold off on the dressing).

Enjoy.

*My favorite way to trim asparagus is to gently bend each stalk about an inch or two from the stem until the tough end snaps off. 

Monday, April 23, 2012

Blasphemy (almost)

I was planning to tell you about chocolate cake today.


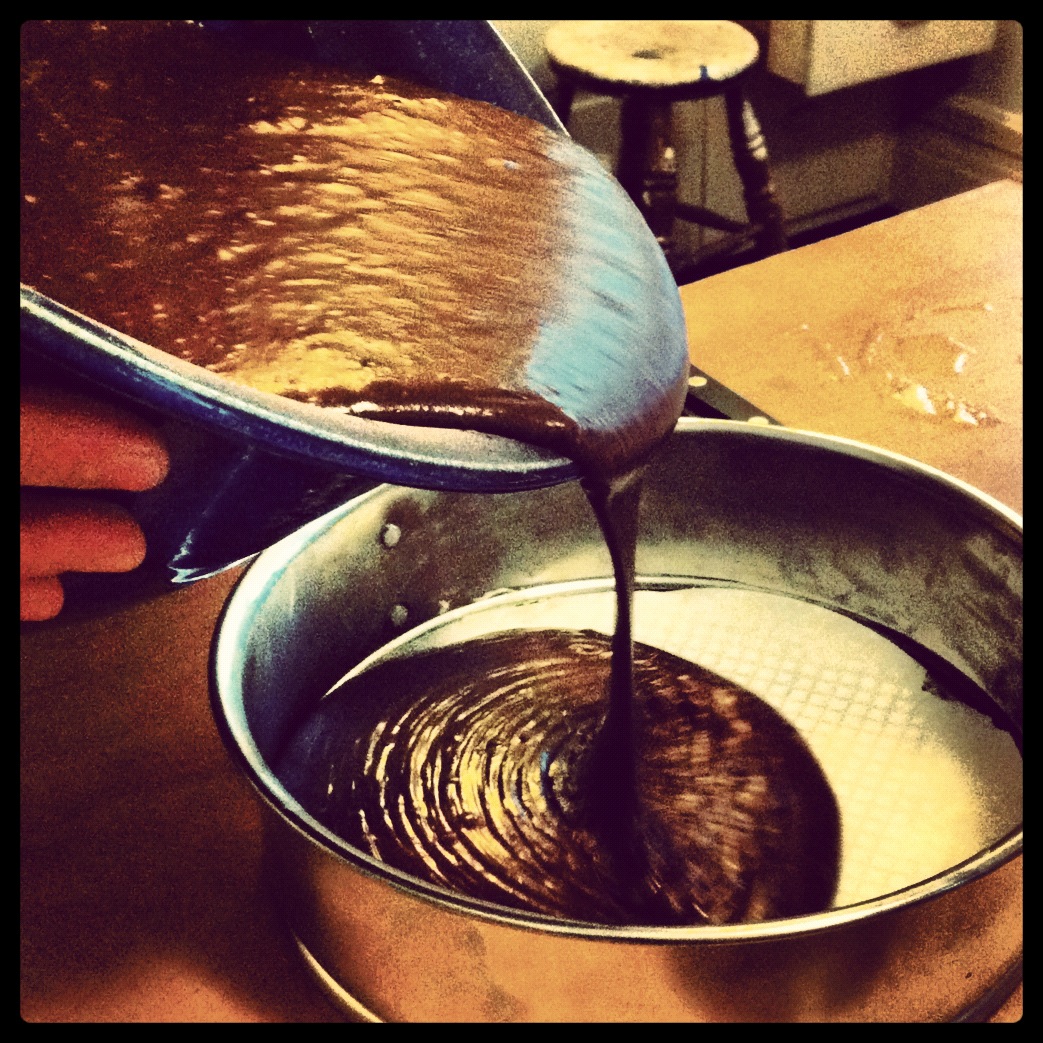
This cake was a serious, no nonsense birthday cake and I am pretty sure it was a success.  There were two layers of rich cake sandwiched around a peanut butter cream cheese filling, then coated all over in chocolate ganache.  There was butter and white flour and lots of highly controversial vegetable oil, but you’ll be glad to know I fit in some organic unrefined cane sugar.  Phew, it was quite a celebration.


However, in an effort to maintain the integrity of this blog, I am going to switch gears here and try to convince you that you want to eat salad just as much as you want to eat cake (or at least preface your cake eating with a few vegetables?).  This is a dish that I have made over and over again since finding the recipe over at Love and Lemons last month.  One of the reasons I love to read other blogs is that it gives me confidence to experiment more on my own.  I never would have decided to roast cauliflower with vinegar because, in my head, vinegar is not an ingredient that should be heated.  Now that I have tried it (with success), I am more likely to use this technique with other ingredients, as well.  Yum.


The downside of this salad is that it is about to be archived until next winter.  You (like me) might be at your wits end trying to put together meals with winter produce, but I would encourage you to make this your final hurrah.  Dense, wintery vegetables are paired with brighter additions like capers and golden raisins, making this a good segway into lighter spring salads.  If spring is already in full swing where you are, substitute the kale in this recipe for arugula and just add the chopped (uncooked) shallot to the mix with the capers and raisins.  For a great guide to what produce is in season, check out this calendar put together by the Eat Seasonably campaign in the United Kingdom.  Although the calendar is based on a very specific climate, I still think it is a great starting point.  Of course, to really find out what is in season where you are, go visit the farmer’s market in your area.  Seriously, give it a try!

Roasted Cauliflower and Kale Salad
Adapted from Love and Lemons

1 small/medium head of cauliflower, cut into small florets
1 tbsp. plus 1 tsp. coconut oil, divided
1 tsp. white balsamic vinegar
1 tbsp. agave syrup (use more if you want a sweeter result, and feel free to substitute honey)
1 large shallot
2 cloves garlic, minced
1 bunch (or a few big handfuls) kale, chopped and thoroughly rinsed
pinch of red pepper flakes (optional)
2 tbsp. capers, drained
small handful of golden raisins
about ¼ cup almonds, roughly chopped and toasted
salt and pepper to taste

Preheat oven to 500 F and line one or two baking sheets with parchment paper (I usually just need one, but if you have more cauliflower then you might need two).  Arrange chopped cauliflower on baking sheet so that the pieces do not overlap.  Drizzle 1 tbsp of the melted coconut oil, the vinegar and agave over the cauliflower.  Sprinkle with a pinch or two of salt and a few grinds of pepper, then roast in the oven for 15 to 20 minutes.  The cauliflower is done when it looks nice and caramelized around the edges.

While the cauliflower is cooking, heat the remaining 1 tsp coconut oil in a saute pan over medium heat.  Add chopped shallot and cook for a minute or two, (stirring occasionally) until softened and starting to brown, then stir in the garlic and red pepper flakes and cook until fragrant (no more than 30 seconds).  Toss in the kale, add a generous pinch of salt, and cook for just a minute or two until the leaves start to soften.  Remove the pan from heat and stir in capers, raisins, almonds, and roasted cauliflower.  Taste for salt and pepper and adjust as needed.

Serve over quinoa, or top with a poached egg for a complete meal.

P.S. If you love chocolate and cake and peanut butter filling, find recipes worth your time here and here.

Sunday, April 15, 2012

Here we are.


For some reason I thought this was going to be easy.  I imagined myself sitting down on my sunny patio, an ice-filled glass of water in hand, and writing (using my brain!).  Writing about something that I already spend most of my time thinking about.  I mean, really, how hard could it be?  As it turns out, hard.  But, here I am, on my sunny patio, and I am just going to hope that starting is the hardest part.  Introductions are always tough, so I’m just going to get this out of the way so that we can move on.

I feel so overwhelmed by the thriving food blogging community, and I fully realize that I am jumping into this game a bit late, but I hope that what I share will still be valuable to some of you.  Yes, many (aka ALL), of my recipes are based on something created by another food writer.  I am not a recipe developer, that I know for certain, but the whole purpose of this space is to share my findings with those of you who do not compulsively monitor their Google Reader.  So take what you want, and use my ideas as a jumping point for your own creations.  We all have to start somewhere, right?

For the first post it only seems right to share a recipe for something that I eat everyday: granola.  The beauty of this recipe is it’s endless adaptability, so do not feel tied down to the ingredients I use.  If you hate shredded coconut, don’t use it.  If you want to swap pure maple syrup for the honey, go for it.  Go crazy, try agave as your sweetener.  The one thing I will say is try this with the coconut oil.  I will talk about this in more detail later, but for now just trust me.

Here’s to beginnings.


Granola

As I stated above, please feel free to use whatever ingredients you have on hand, since the proportion of ingredients is more important than actual ingredients in this recipe.  Also, please note that this make a lot of granola, but as long as you keep it tightly sealed in a jar or plastic bag, this should keep for about a month.  I eat mine everyday for breakfast, so this never lasts me more than a week.

3 cups old-fashioned rolled oats (NOT instant oats)
½ cup each of desired add-ins (use raw nuts and seeds, which are easily found in bulk bins or at Trader Joe’s): sliced almonds, sunflower seeds, pepitas, shredded unsweetened coconut
½ tsp salt (I use Kosher and generally add just a small pinch more than this)
1 rounded tsp cinnamon
small pinch of cardamom (nutmeg and/or cloves also work well here)
¼ cup unrefined virgin coconut oil, melted (I usually stick the whole jar in the oven for a few minutes to melt)
¼ cup honey (pure maple syrup or agave nectar are also delicious, although the maple syrup will have a stronger flavor and the agave will be less sweet)
1 tsp pure vanilla extract
½ - ¾ cup raisins (add after baking!)

Preheat oven to 325 F and line a baking sheet with parchment paper.

Combine all the dry ingredients in a large mixing bowl.  In a small bowl, whisk together liquid ingredients and stir into the dry mixture.  Use your fingers to make sure everything is well-coated and spread evenly onto lined baking sheet.  It is important that the granola not be piled very high on the baking sheet or else the oats will start to steam instead of toast, resulting in a soft, chewy granola.  So, if you need to, line a second baking sheet and divide the granola between the two.

Bake for 15 minutes, remove from oven to stir, then return to oven to continue baking for another 10 minutes or so.  If your kitchen starts to smell really fragrant around the 7 minute mark, check to make sure the oats are not getting too crispy.  If the oats do not seem golden after 10 minutes, leave the granola to bake for just a couple minutes more.  Remove from oven, toss in your raisins, and allow everything cool on the baking sheet.  The granola will crisp up as it cools, so give it at least 30 minutes before storing.

Eat, enjoy, and then make more next week.